
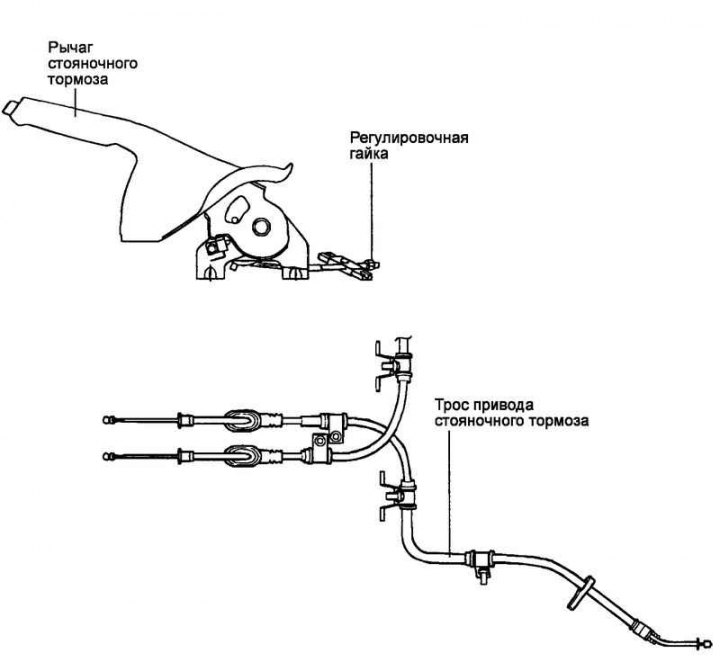
Fig. 6.54. Parking brake circuit
Removal
Remove the rear console.
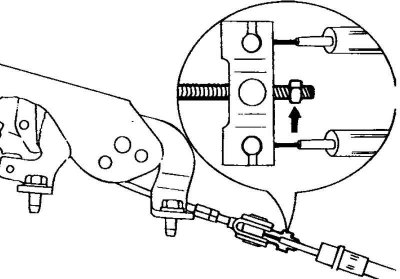
Fig. 6.55. Parking brake cable lever adjusting nut
Loosen the adjusting nut and disconnect the parking brake cable from the lever (Fig. 6.55).
Remove the parking brake indicator light switch.
Remove the parking brake lever assembly.
Remove the rear wheel.
Remove the brake drum.
Remove the brake pads.
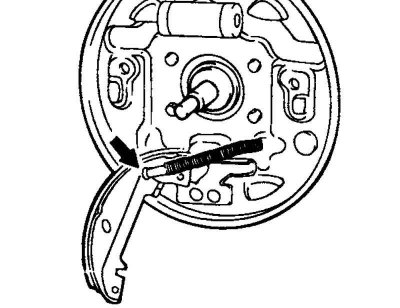
Fig. 6.56. Disconnecting the cable from the parking brake shoe
(The publication is borrowed from the website: HyundaiBook.ru)
Disconnect the cable from the parking brake shoe (Fig. 6.56).
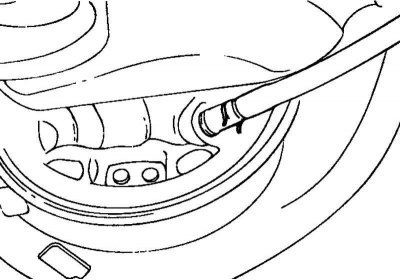
Fig. 6.57. Cable fastening ring to the support brake disc
Remove the ring securing the cable to the support brake disc (Fig. 6.57).
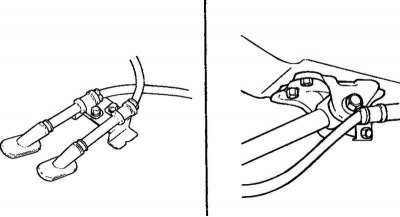
Fig. 6.58. Fastening the parking brake cable retaining clips
Loosen the bolts securing the parking brake cable retaining clips and remove the cables as an assembly (Fig. 6.58).
Examination
Check the functionality of the parking brake indicator light switch.
Check the condition of the parking brake lever ratchet.
Assess the condition of the parking brake cables.
Installation
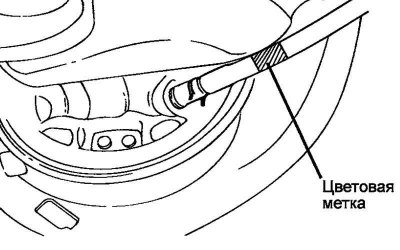
Fig. 6.59. Parking brake cable color marking
Check the color identification marks on the parking brake cables. Connect the cables according to the marks (Fig. 6.59).
Identification tag
Left side: red.
Right side: yellow.

Fig. 6.60. Upper return spring
When installing the upper return spring, move the regulator lever back (Fig. 6.60).
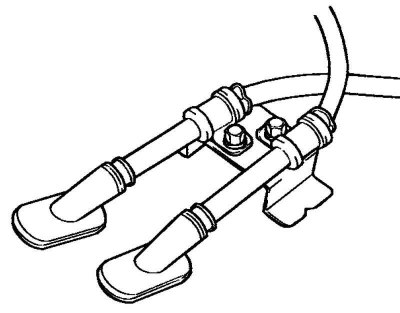
Fig. 6.61. Fastening the parking brake cables
Secure the parking brake cables as shown in Figure 6.61.
Lubricate the ratchet and pawl of the parking brake lever with grease.
Install the cable adjuster and adjust the parking brake cables.
Note: The parking brake should be applied on the eighth click of the parking brake lever ratchet with a force of 196 N applied to a point on the lever located 40 mm from the end of the lever.