
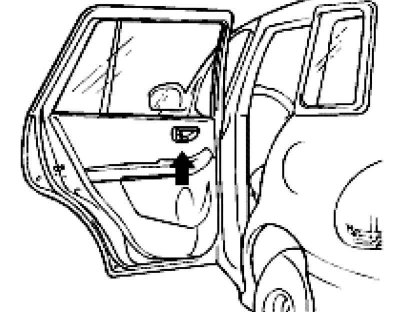
Fig. 8.21. Screw for fastening the inner door handle trim
Loosen the screw of the inner door handle trim (Fig. 8.21).
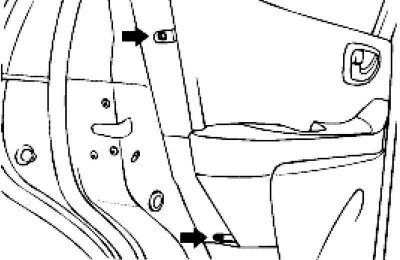
Fig. 8.22. Screws holding the door trim panel
Remove the screws holding the door trim panel (Fig. 8.22).
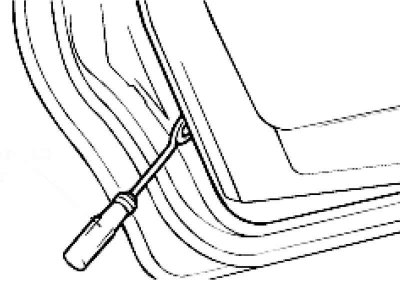
Fig. 8.23. Removing the door trim
Place the shield puller between the trim fasteners and the door shield and remove the shield. Disconnect the wiring connectors from the rear door (Fig. 8.23).
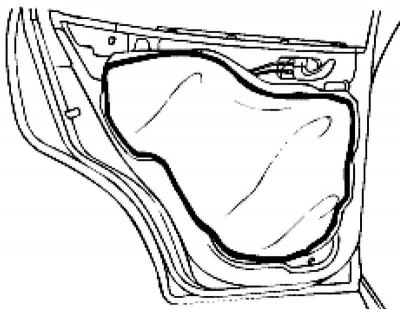
Fig. 8.24. Removing the vapor barrier
Remove the door vapor barrier (Fig. 8.24).
Lower the rear door glass and then remove the bolts holding the rear door glass.
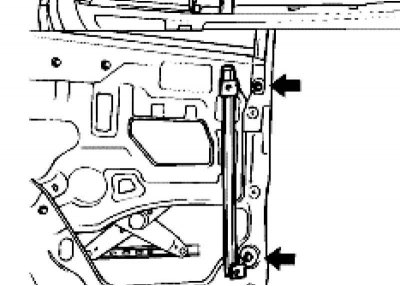
Fig. 8.25. Removing the rear passenger door glass guide grooves
Remove the front guide channel of the rear door glass (Fig. 8.25).
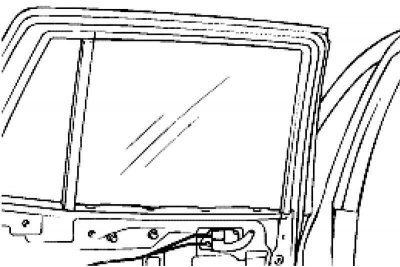
Fig. 8.26. Removing the rear passenger door glass
Remove the rear door glass from the rear door module (Fig. 8.26).
Remove the rear door glass and loosen the bolts holding the rear door glass rear guide channel.
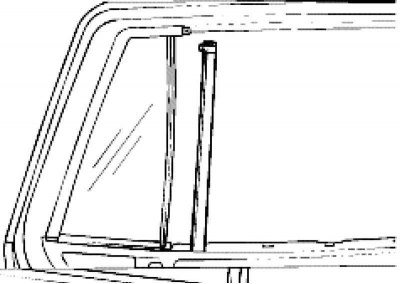
Fig. 8.27. Removing the guide groove
Remove the rear door glass rear guide channel (Fig. 8.27).
Remove the fixed glass.
Disconnect the stem from the outer handle.
Remove the retainer, wiring harness and rear door module.
Installation
Installation is carried out in the reverse order of removal.
When installing door vapor barrier, butyl tape should not block the door trim mounting holes.