
Contents: Removal ⇓ Installation ⇓
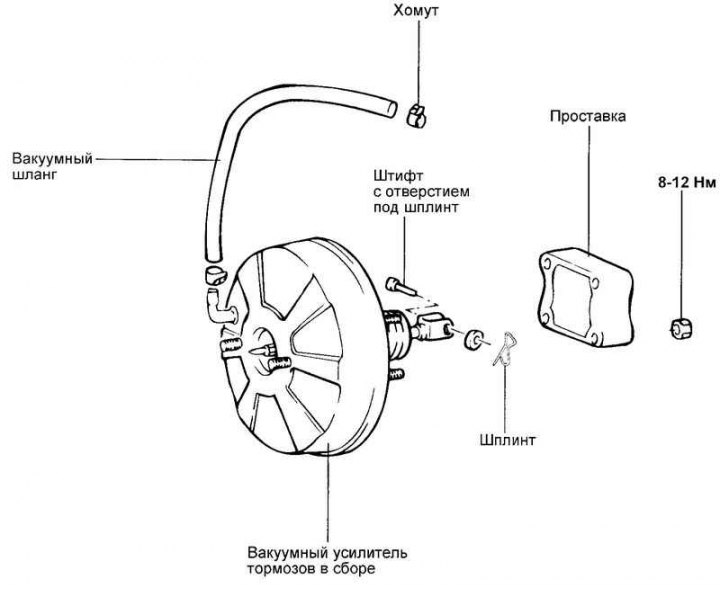
Fig. 6.9. Brake booster
Removal
Disconnect the brake pipe from the master cylinder.
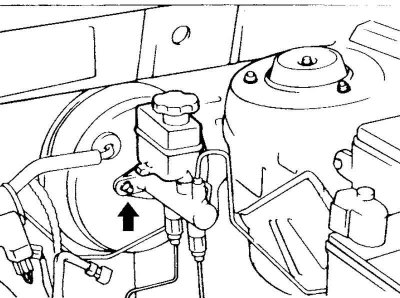
Fig. 6.10. Master brake cylinder mounting nuts
The material is republished from the web portal (HyundaiBook.ru)
Remove the master brake cylinder (Fig. 6.10).
Caution: If brake fluid comes into contact with painted surfaces, wipe off the spilled fluid immediately.
Disconnect the vacuum hose from the brake booster.
Disconnect the brake booster pushrod from the brake pedal.
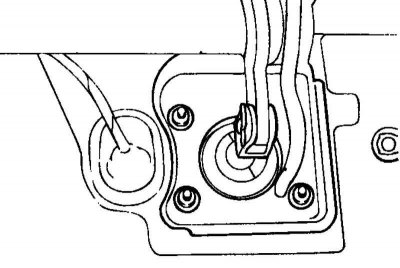
Fig. 6.11. Brake booster mounting nuts
Loosen the brake booster mounting nuts (Fig. 6.11).
Lift the brake booster assembly and remove it.
Installation
Before installing the brake booster assembly, check the condition of both gaskets on its mounting bracket and replace the gaskets if necessary.
Install the brake booster in place and tighten the mounting nuts.
Tightening torque: 13–16 Nm.
Apply a generous amount of grease to the brake pedal arm hole (pin installation location).
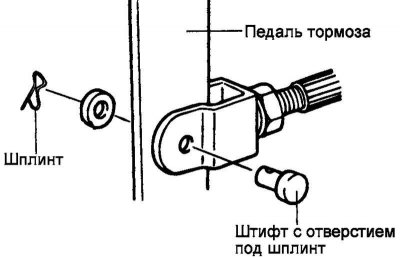
Fig. 6.12. Connecting the pusher fork
Connect the push rod fork to the brake pedal lever using a pin with a hole for a cotter pin and secure the pin with a cotter pin (Fig. 6.12).
Install the master brake cylinder and connect the brake pipe to it.
Connect the vacuum hose to the brake booster.
Fill the brake fluid reservoir with brake fluid.
Check for brake fluid leaks.
Check and adjust the position of the brake pedal.
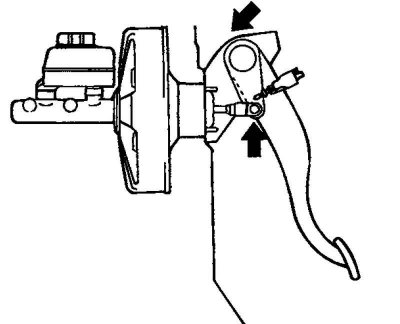
Fig. 6.13. Places of application of consistent lubricant
After installing the parts, apply a sufficient amount of grease to the contact points of the pusher fork and the brake pedal (Fig. 6.13).